Taking care of your Gerni ensures that it can continue to operate efficiently and perform at its best all year round – extending the life of your Gerni and saving money for any repair work.
You need to make sure you are looking after your Gerni Pressure washer properly so that it can continue to clean your home!
First, always make sure that your Gerni is turned off and disconnected from the power supply before cleaning or disassembling.
After each use
After unplugging and switching off your Gerni, you should do a quick check of the hose, spray gun, filter, lance, power cord and fittings to check for any wear and tear.
After use, point the spray gun away from people or animals and run it until the water stops flowing. This is important as it releases all the built-up pressure on the fittings & O-rings, avoiding wear & tear on your Gerni.
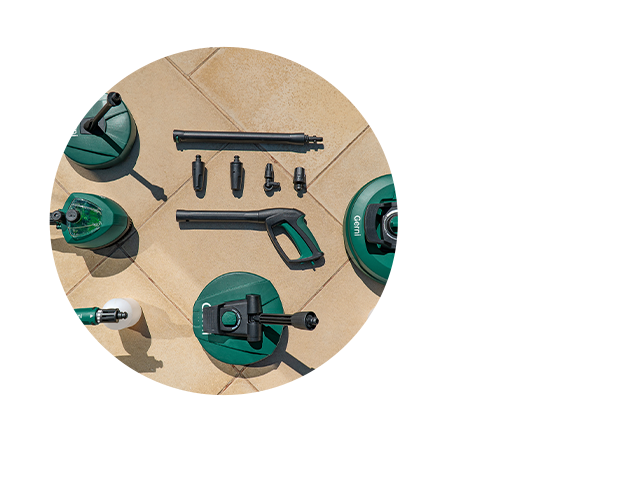
It’s always a good idea to do a quick rinse off all your accessories to make sure there are no blockages or detergent build up, so they are ready for your next Gerni session!
Each month
It’s a good idea to check your Gerni and accessories each month for blockages or any debris.
You might find that your Gerni is fluctuating pressure. This is likely to be because your nozzles are dirty or blocked – preventing a constant flow of pressure. The best thing to do is regularly check to see if you need to clean your nozzles. A cleaning needle is provided in your Gerni box to clean the filter or clear any blockages.
Cleaning your filter
Your Gerni High Pressure Washer will have a filter, just like a vacuum cleaner filter. This will need cleaning to help your Gerni perform at its best!
Step 1 – Removing the Inlet Filter
Detach the garden hose and unscrew the quick coupling fitting connected to the water inlet, carefully remove the inlet filter with a pair of long-nosed pliers.
Step 2 – Clean out the dirt
With the filter removed you can wash it under running water, making sure the filter is cleared of any dirt or debris.
Quick Tip: Use a spare toothbrush or the needle provided with the kit to remove more stubborn areas of dirt!
Step 3 – Refit the filter
Once all cleaned, you can reverse the process to re-insert the inlet filter and put your Gerni back in storage ready to go!
Regular maintenance and cleaning of your Gerni can help ensure it works for longer and avoid a range of problems later on.
You can also find all cleaning and troubleshooting information in your Gerni manual!
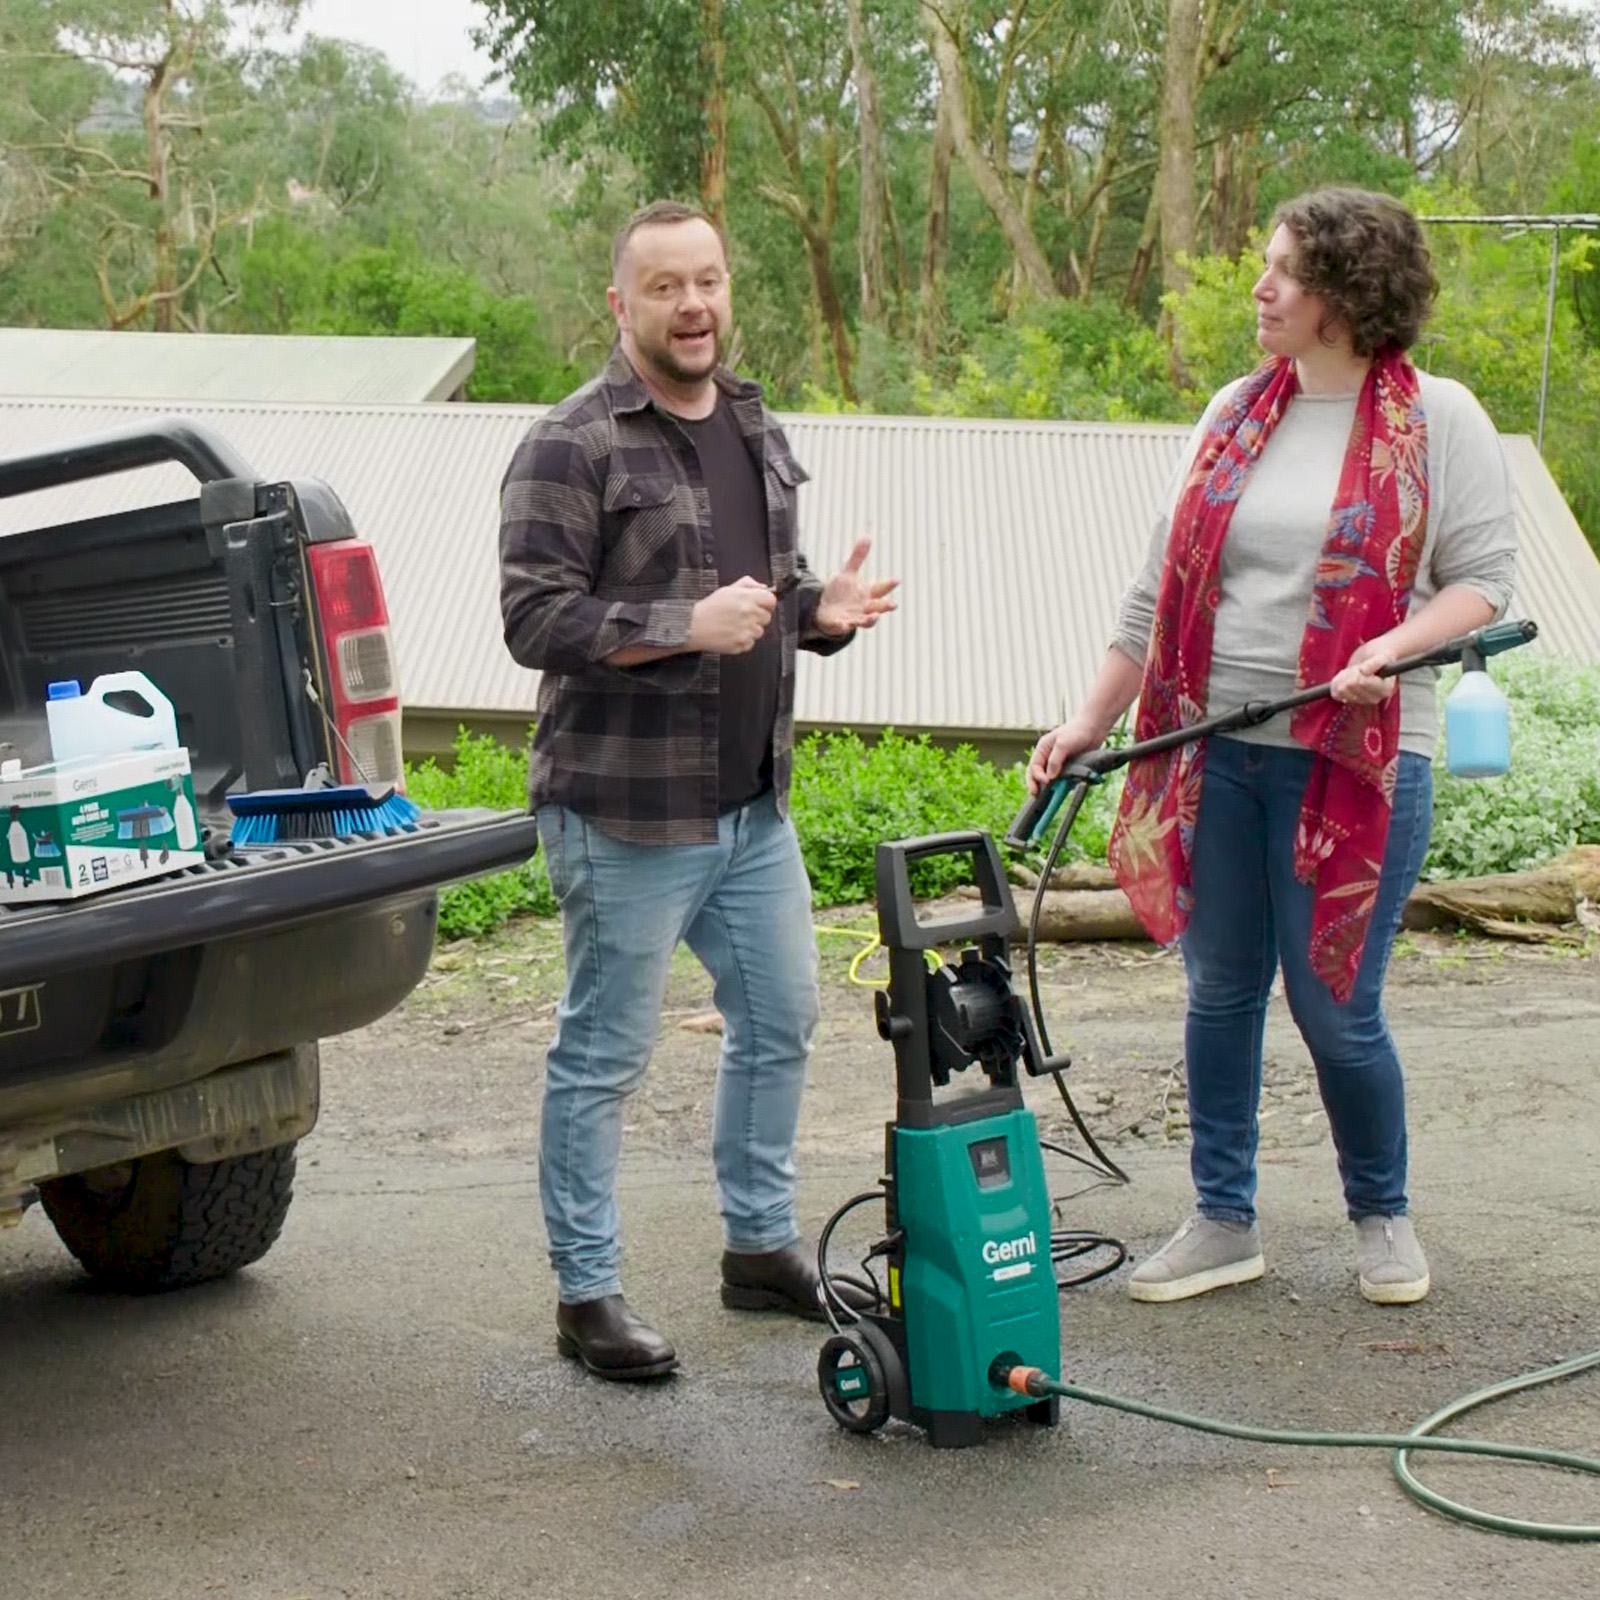
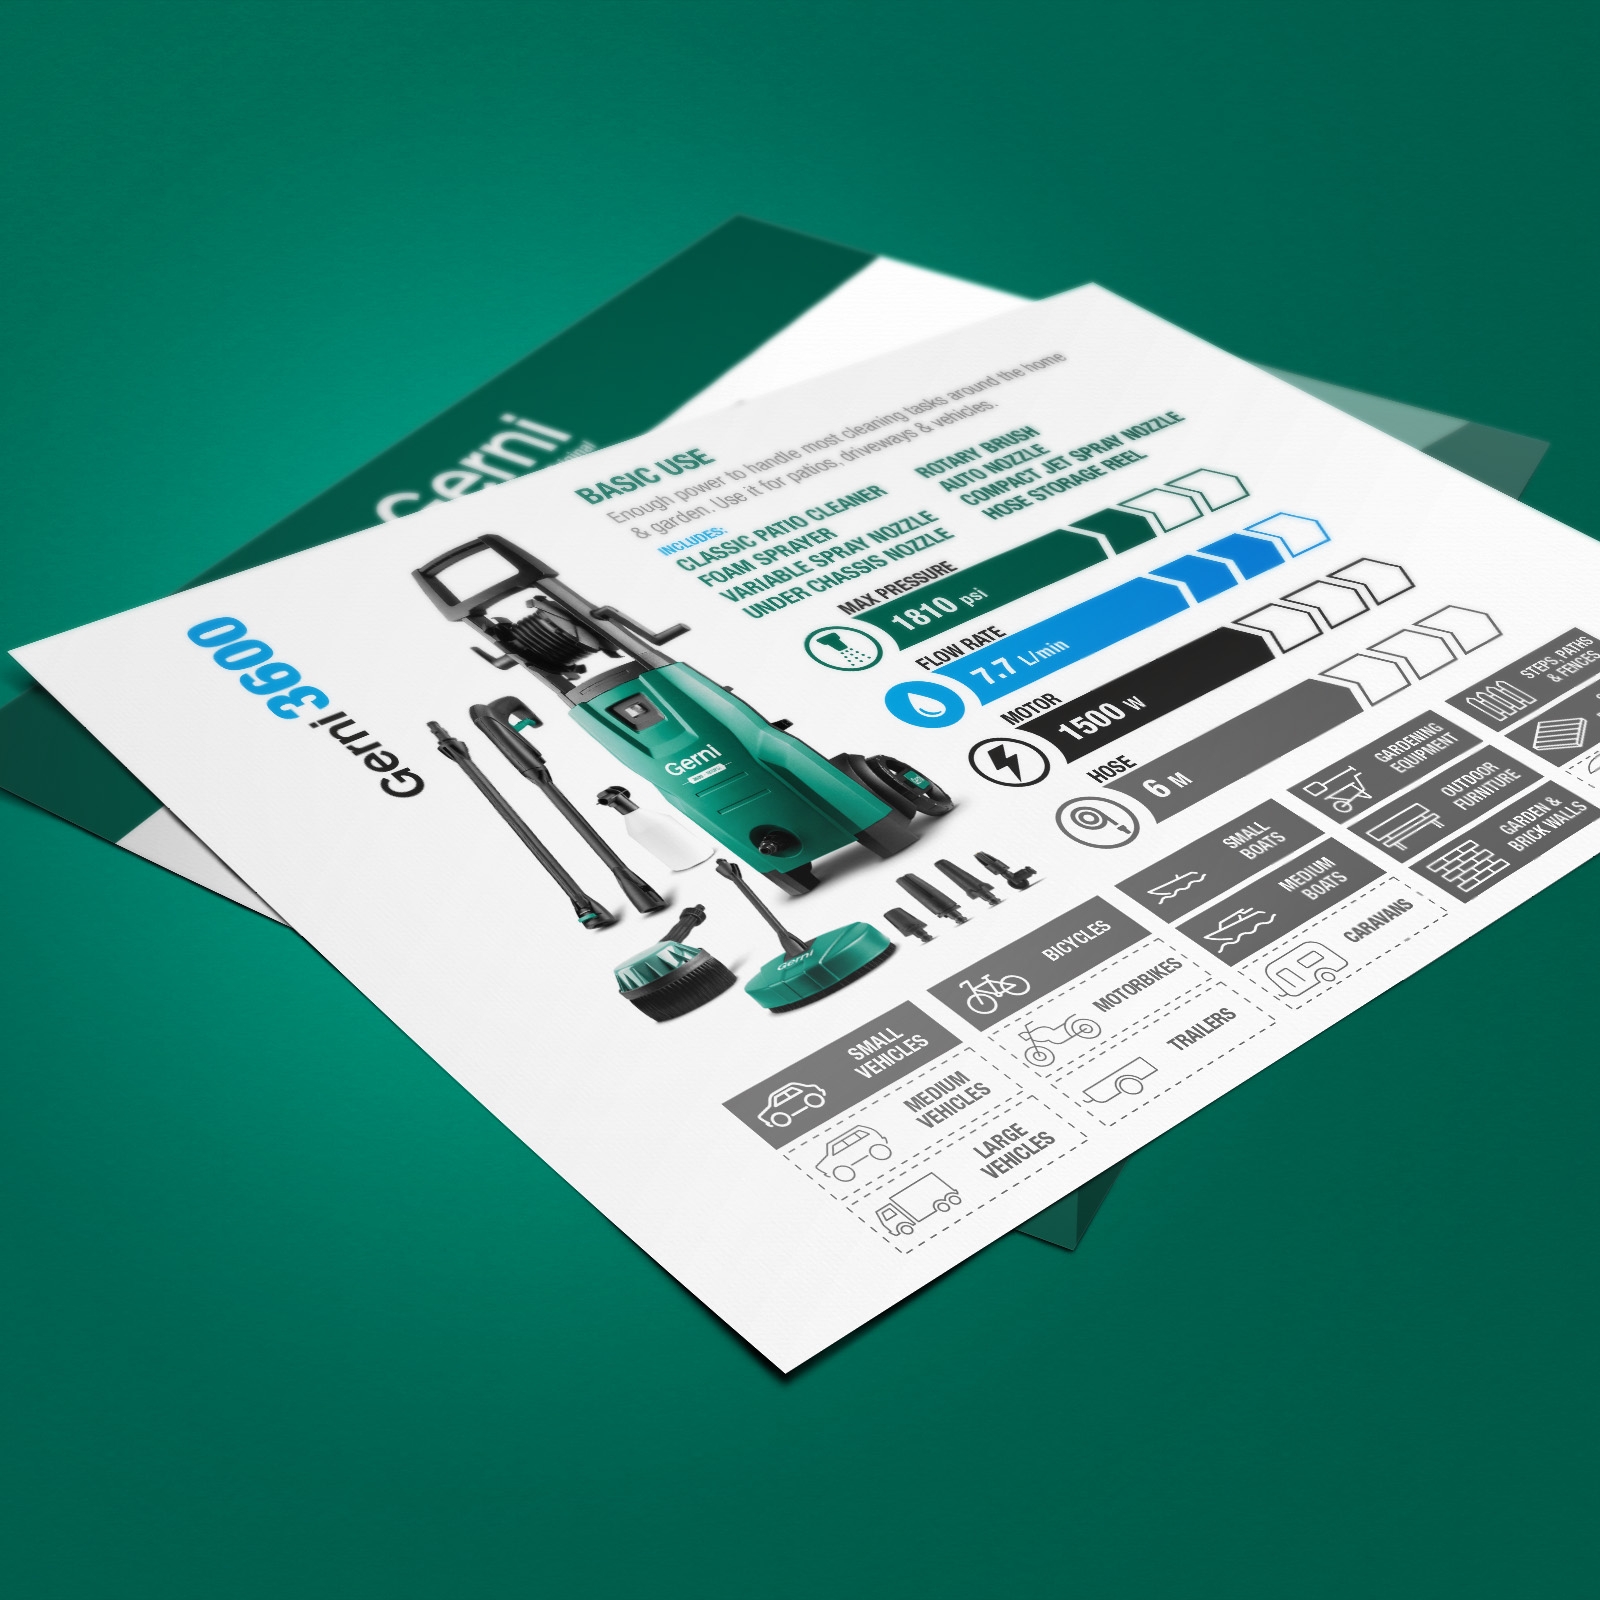
With a full range to choose from, we understand that choosing the right Pressure Washer for you could be quite daunting which is why we've made a feature of explaining some of the options on all Gerni Pressure Washer packaging.
Read More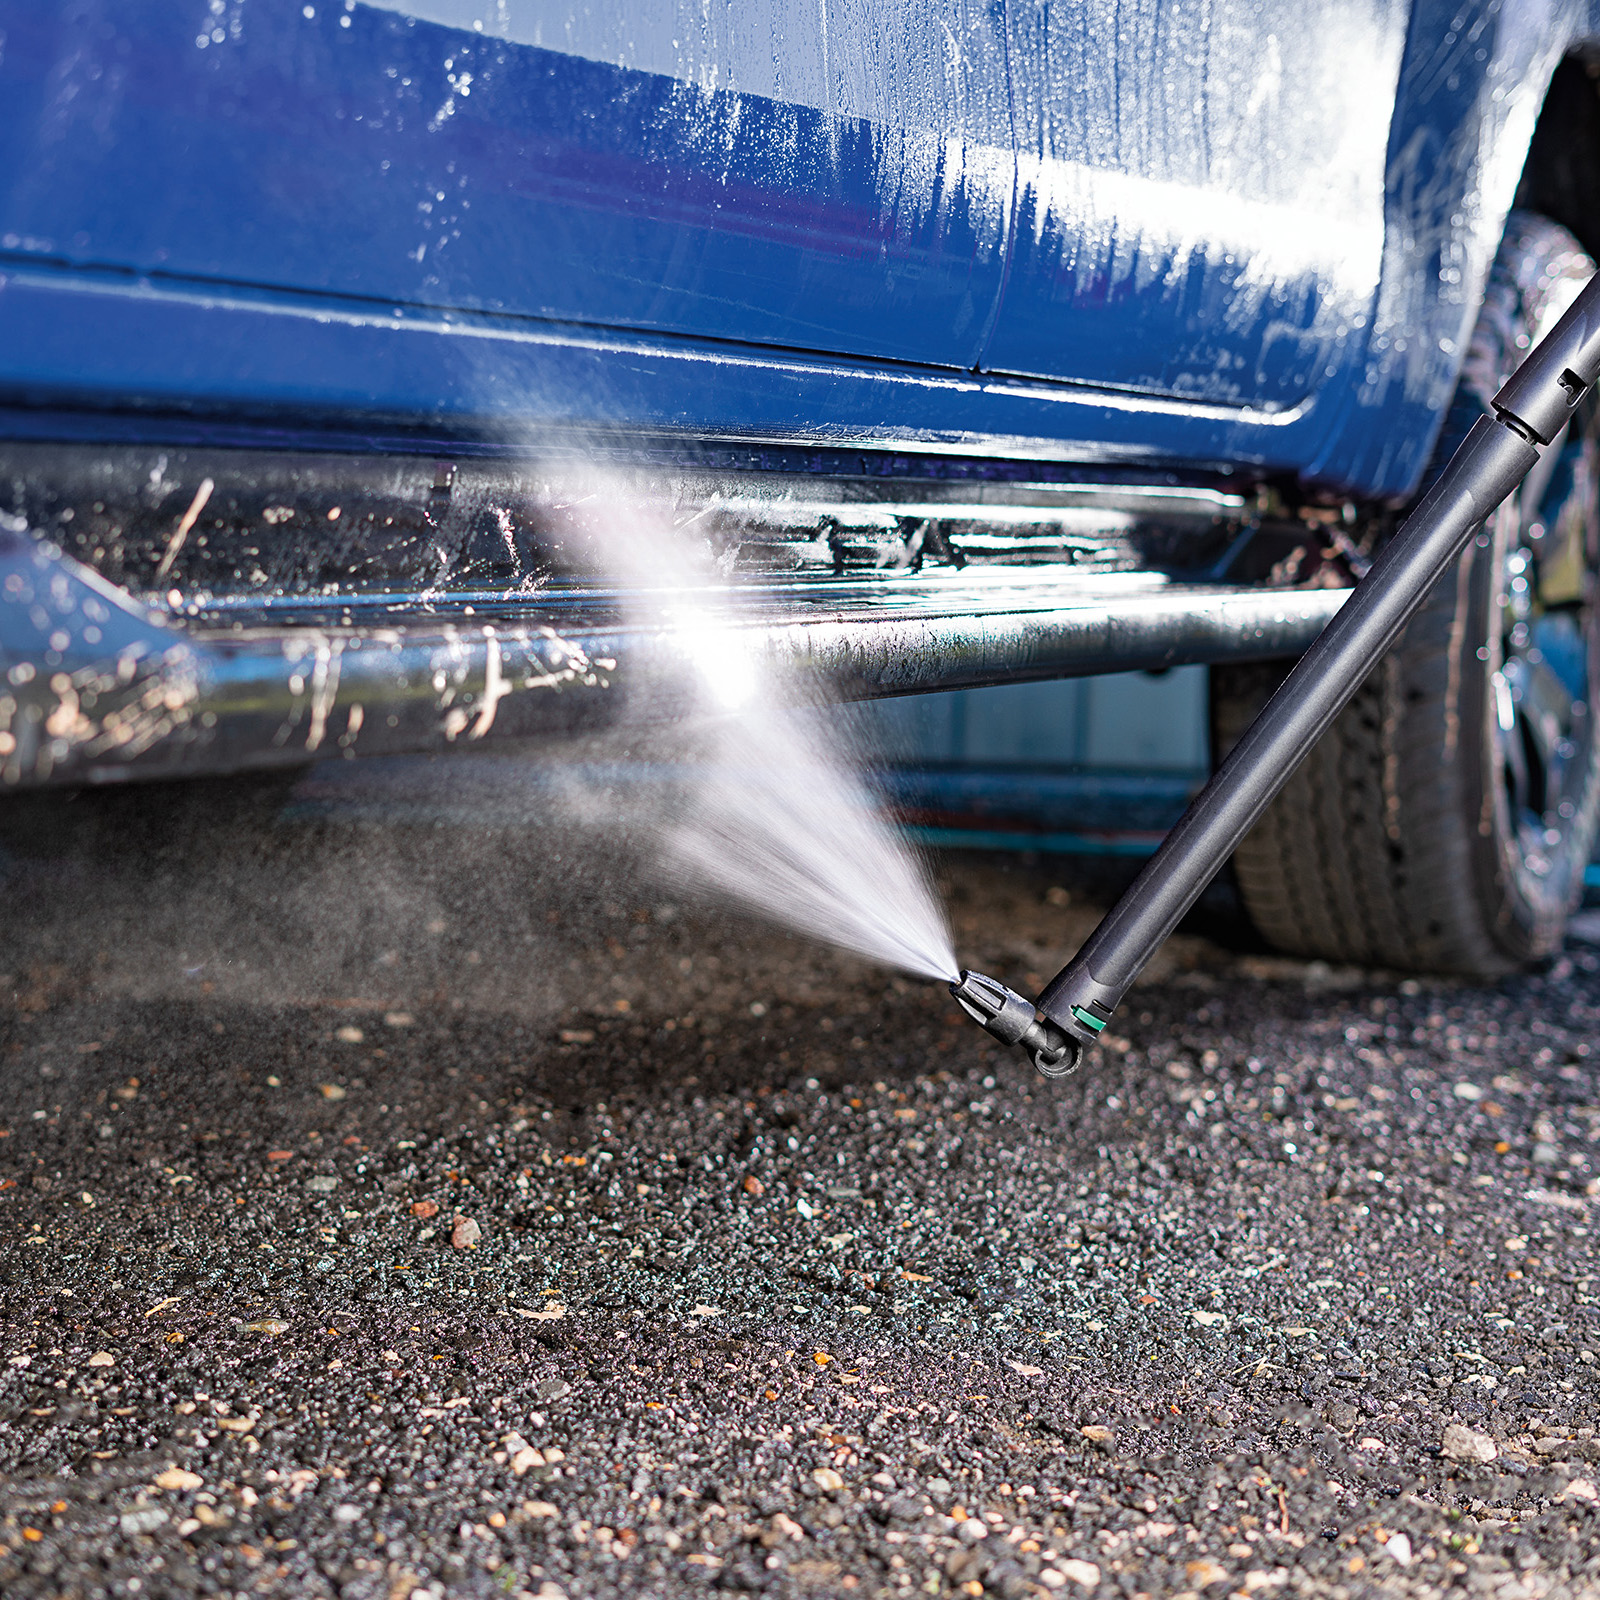
Gerni’s G-Connect accessory system has over 20 available accessories to choose from! This can be a little overwhelming if you're new to the range. Every accessory has an application it is perfectly suited for and we're here to help you choose the right accessory that will make your D.I.Y task easier and more efficient - leaving you more time for the things that matter.
Read More